Showing posts with label sensitive skin. Show all posts

Friday, 8 October 2021

Paula's Choice

If you've been reading my past posts, you might know by now that I have oily/combination skin that's also sensitive with enlarged pores. It's been a difficult journey trying to find products that can clean my skin well without being so harsh that it makes it flare up.

Someone recommended that I try Paula's Choice. It's relatively affordable and so far I've been very pleased with the results. I have almost no breakouts and my pores look smaller as a result of being able to get rid of the gunk in there. 

I got a whole range of products to try as they promise to minimize the appearance of large pores and so far, I think it's working. The combination of stuff that I'm using or have tried from Paula's Choice has made my pores appear smaller and my skin fresher and cleaner.

Step 1: Skin Balancing: Oil-Reducing Cleanser

The first step to any skin care regime is to cleanse. I decided on the Oil-Reducing Cleanser. It's for Oily/Combination skin, a cream to foam cleanser that reduces excess oil to balance skin, as well as remove makeup and impurities. We all know that enlarged pores look... well enlarged... because they are filled with impurities. What we commonly know as blackheads. I was cautious as I thought this cleanser might be too harsh. But I jumped on board anyway.


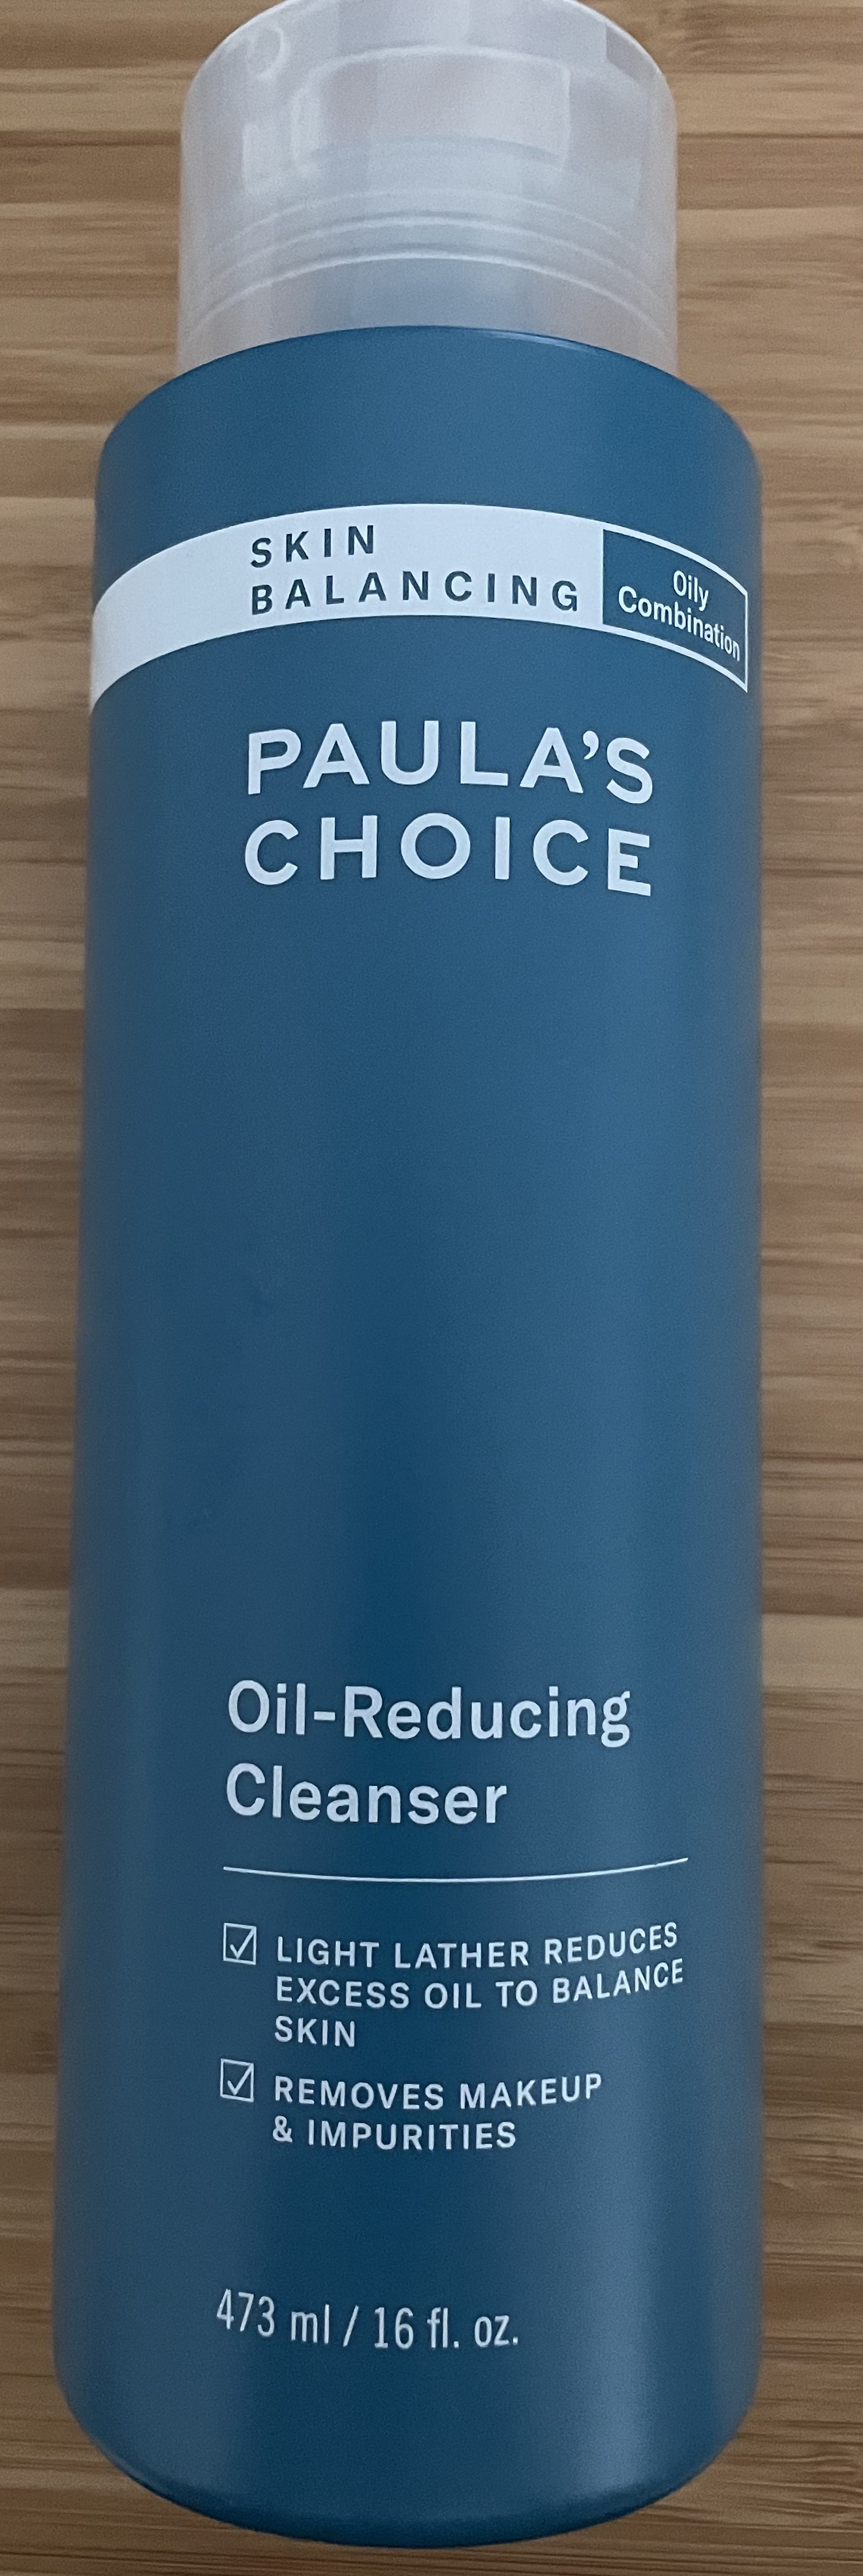
I'm happy to report that I'm on my 2nd bottle now as it has been effective yet gentle enough for my skin. I must admit that I don't use it to clean makeup. I always use micellar water to remove makeup before washing my face with this.

Step 2: Resist: Daily Pore-Refining Treatment 2% BHA (Salicylic Acid)

After my skin is clean, I go straight to the exfoliant. This is a daily leave-on liquid exfoliant. It contains salicylic acid - meant to gently and naturally exfoliate skin, reduce visible signs of sun damage, reduce pore size, and melt away those impurities clogging pores. 


Step 3: Resist: Advanced Pore-Refining Treatment 4% BHA

I only use this once a day, at night time. Because it's 4% BHA, I didn't want to be too hardcore about it. Although I think out of all my steps, this item is the most effective. I feel a slight tingle feeling after applying this but not burning. I use this for the same reasons, for my enlarged pores.


Step 4: Resist: Ultra-Light Super Antioxidant Concentrate Serum with Hyaluronic Acid

I use this twice a day, to provide weightless hydration and an exclusive mix of antioxidants and grape-derived resveratrol. Together with skin-restoring and nourishing ingredients - hyaluronic acid and pore-improving niacinamide. Hyaluronic Acid (aka hyaluronan) is naturally produced by our bodies and its main function is to retain water to keep your tissues well lubricated and moist - i.e. to fight wrinkles. Niacinamide is a form of vitamin B-3, helps the skin retain moisture, minimise pore appearance and regulates oil. 


Step 5: Resist: Super-Light Daily Wrinkle Defense SPF 30

So with all the BHA products, you MUST use sunscreen when you go out. I use this under my foundation and powder. Not only is it sunscreen, but I find it works very well as a primer for my makeup. There's a slight tacky feel after applying so it's perfect for makeup. Sometimes I use this and face powder and it gives a good barely there makeup look.


______________________________________________________________________________

I do use other sunscreens and moisturisers not from Paula's Choice but that doesn't belong here. 


Sunday, 8 May 2016

Atomy Evening Care 4 Set & Instructions

Technically this post should come before the Atomy Skin Care 6 System because cleansing comes before moisturising, but I'm sure you'll work it out :)

I actually bought the Atomy Evening Care 4 Set after using the Atomy Skin Care 6 System because I noticed that my skin had become firmer and hydrated. Convinced that something in those creams must be working, I decided to tackle my biggest skin problem - blackheads! I can't get rid of them often enough and it just keeps terrorising my face. As I have said in my previous post that I use the Biore Pore Pack on a weekly basis to remove the blackheads, but I'll be much happier if I didn't have to spend that much time fussing with removing instead just not have them to begin with. As with all Atomy skin care products, they are developed with fresh herbs and natural ingredients, suitable for all skin types, even sensitive, problem skin like mine.


Logic would say that if you cleanse your face well, then blackheads will be there. Simple. So let's get on with it. The 4 items in this goodie box, listed in the order that you should use it, are:


1. Deep Cleanser - removes make up and cleanses clogged pores
2. Foam Cleanser - the rich lather washes away impurities and dirt in pores
3. Peeling Gel - gently peels off dead skin cells (i.e. non abrasive exfoliator)
4. Peel Off Mask - firms skin and tightens pores

Reviews & Instructions by Product:
1. Deep Cleanser - this cleanser has a cream like consistency and can be used to remove make up. Foundation, BB Cream and Powder definitely comes off. For your eye make up, especially waterproof eye liner/mascara, it's always best to use and eye makeup remover first. 
To use: squeeze a dollop onto fingers and rub all over face for 2 minutes. You can also do this cleanse on your neck. Rubbing in circular motions all over dislodges the makeup out of your pores and also improves circulation. Once this is done, you can either wipe the cleanser off with tissue or wash if off with warm water. I prefer to wash it off because I feel that the tissue can be abrasive and I generally don't like being too rough with my skin.

2. Foam Cleanser - this cleanser lathers up really well, smells really fresh and cleans your skin really well. It will leave your skin feeling clean and fresh yet not dried out and tight. sKin feels hydrated and clean. I really like this cleanser a lot! 
To use: squeeze a bit of cleanser onto hand, you don't really need a large amount. Work up a lather by rubbing with wet hands, then massage all over face and neck for 2 minutes as well. Just like when removing make up, the foam cleanser will be able to dislodge any dirt and impurities caught in the pores but working the lather in circular motions all over the face. After that, rinse off thoroughly.

*As a side note, I have been told before that you should wash your face with warm water, but always finish off with cool water. The warm water is supposed to open up the pores which will allow the dirt to be removed, and once your skin is clean, the cool water can help to close the pores. 

3. Peeling Gel - this gel has a slightly silicon kind of texture and peels off dead skin cells. By exfoliating away the dead skin cells, your skin will look brighter. Dead skin cells causes skin to look dull. This made my skin feel softer, smoother after and next level cleaner. 
To use: squeeze a bit of peeling gel onto fingers, then massage and spread all over face and neck, avoid the eyes. Wait for 2 minutes for the peeling gel to softer the dead skin cells which will then enable you to rub it off. After 2 minutes, rub off the gel in circular motions. You will see the dead skin cells coming off. 

4. Peel Off Mask - this mask has a slight rubbery texture which is quiet interesting. This is the final step of this set which tightens up the pores after all the cleansing you've been doing. Result is clean, fresh skin.
To use: spread the mask all over face, avoiding eye area. Applying a thicker layer makes it easier to peel off after, but I don't think you should go over the top with this. Just make sure all areas are sufficiently covered. Let it dry completely. If you like, you can also sleep with the mask on. Once it's dry, you start from the chin area and rub the edge of the mask upwards. Once a bit of the mask comes away from the skin, you will be able to pull the mask off the rest of the face. Pull upwards. 

Then you're done cleansing. Sounds really tedious but I think for good skin, what's a few minutes?! Of course after this you use the Atomy Skin Care 6 System.

How to buy? It's an online store, the one I use is www.atomy.com.sg and I have signed up for membership to get some discounts (shopaholics like me need it!). Membership costs nothing and there's no monthly spend amounts to maintain your membership account so no worries there. Happy Shopping!

Wednesday, 2 April 2014

DIY Makeup Face Powder

This is for all of you who have had a heap of trouble trying to find the right shade of face powder. I've tried almost every brand there is out there and none of them seem to suit my skin tone (I have no idea WHY!!!!) and also tried adjusting the tones with brozers and still no luck. My face will always end up looking pasty and weird. Not ideal I guess... unless you hang around in really dimly lit places all the time. To top it all off, I have extremely sensitive skin so many powders didn't work as they caused me to have breakouts.

It may sound really troublesome just thinking about making this but it's really easy and doesn't take much time at all. You only need 3 ingredients, only 1 of which I had to search for. The other 2 are pretty everyday items.

1. French Green Clay
2. Cornstarch
3. Pure Cocoa Powder (Unsweetened)

Yes you read me right... it's cornstarch and cocoa powder. You will smell like chocolate but that's not a bad thing right? I bought normal cornstarch from the supermarket for a few dollars and Hershey's Cocoa Powder.

French Green Clay

Anyways, I bought the French Green Clay online from Cest Natural (if you're in Singapore that's easiest I suppose. She met me the next day to pass it to me at Orchard). For $28.90, it goes a LONG way. I think it can make you powder to last 2 or 3 years, everyday use. Not to mention a lot of wastage cause that's the way I roll. 

How To...

Take equal amounts of french green clay and cornstarch and mix it together thoroughly. Then add in the cocoa powder bit by bit till the colour is suitable for your face. 

Done! Easy right?!


Saturday, 29 March 2014

Hate blackheads? Biore Pore Pack

Well I've got JUST the solution for you... because I'm a little crazy and don't know what moderation is. I pushed the boundaries and found this to be SUPER effective. For the sake of all the gentlemen and ladies out there who have been spending tonnes of money and hours going for facials, trying to get better skin, I have decided to throw away my dignity and share this with you. You will probably laugh when you see the picture but I already told you that I'm crazy. So be nice!

I have super problem skin and no facial in the world has managed to help my skin get better. Instead, all the squeezing made my skin inflamed, infected or break out. In between facials I would also take it upon myself and attack my face with a vengeance. Totally mashing the bejeezus out of it to try and get it clear, then waking up the next day to a few more pimples. I've tried almost all brands of face wash, soap, AHA... but my skin is sensitive and anything and everything gives my skin the shits. Years ago when I saw the Biore Pore Pack, I thought hmmm... let me try it. I did as I was told and used 1 piece on my nose. The next week I got a stroke of genius... *light bulb comes on* If it works on my nose, it MUST work on the rest of my face!

I did some pretty hopeless pore pack patchwork on my face. Covering every spot, cut and paste. I look totally ridiculous but no one said being beautiful was easy.

Biore Pore Pack


To my delight... it worked. 80% of my blackheads were removed. Painlessly and extremely effectively. Even the ones that are impossible to squeeze out... came out. You will know when it's ready to be removed when you feel that it's hard, peel it off slowly. If it feels damp, you need to wait a while longer. Once it's off, wash your face and moisturise. I'm pretty convinced this pore pack has the same stickiness of duct tape or something. It's so super hardcore, but SO worth it. I never got more than 1 and a half weeks without doing this. Each time I use like 1 and a half packs. Each pack costs $3.90... best money I ever did spend.

One very important tip though: If you live in the tropics where it's super humid, you get the best results in an air-conditioned room. I'm impatient so on top of the air conditioner, I also blast the fan at my face. 

I considered posting photos of the results, but I think it's a bit disgusting. If I get many requests in the comments, I might surrender and post it. Like I said... for the good of all mankind. 

You can thank me later, when you're even more beautiful.